Setting Up a Web Developer Work Environment
Terminal, Zsh, and TMUX

Tools are what differentiates humans from other animals. A few animals, such as Crows and chimps, and dolphins are all known to fashion and use tools but are limited by their ability to carry them places.
1
Learning how to build and use tools might be the most important skill for a human. The wrong tools might harm or kill the person using them, or others. Each profession has its tools. You better hope the scalpel of the doctor is in perfect condition when you’re lying on an operating table, or the plumber brought the right tools to fix your broken water pipes.
The Computer as a Tool
The same is true for people who use a computer as their tool. Basic knowledge in installing software, maintaining, and caring for hardware and software should be acquired by each person handling a computer. Another essential skill is learning to use the input devices of a computer, the mouse, touchpad, and keyboard. And yes, this means learning how to type fast with all ten fingers.2
I’m surprised how little people invest in their tools and skills, given their livelihood depends on a computer. This is even more true for developers.
I consider using the Terminal an essential skill for every developer. There is always the need to run a development server, log in to a remote server or Docker container, compress images or use a version control tool like Git. You shouldn’t depend on finding Software with a graphical interface or an online tool to do basic work. Terminal tools change much slower than graphical interfaces and stay around much longer. The text editor Vi was released in 1976 and its descendants will likely be used in 100 years.
I’m a Vim user for more than 15 years. It’s one of those editors, if you once started using it, you never want to use another editor again. I use Vim keybindings in my Browser with Vimium and use the Vim mode in my note-taking software Obsidian.
For the last few years, I used Vim inside Visual Studio Code with the extension VS Code Neovim. I did this because I wanted to be able to use the Language Server Protocol on my TypeScript projects and keep Vim with my keybindings, settings, and helpers. But loading a big TypeScript project in Visual Studio Code is slow, and the Neovim integration is frozen until everything is loaded. Additionally, it’s not a lot of fun to work with multiple projects in Visual Studio Code.
When a new co-worker joined, he sent me the video talks of the Vimconf 2021. Neovim 0.5 which was released in the summer of 2021 has now built-in support for Language Server Protocol (LSP). It has an integration of the parsing library Treesitter that allows improved syntax highlighting, code navigation, refactoring, text objects, and motions. Seeing all those Vim talks inspired me to recreate my whole working environment from scratch, reevaluate my scripts and tools, remove things I never used, and replace them with better tools.
Dotfiles
I use dotfiles for my work environment to be able to quickly set up everything I need on a new computer. It’s common practice for developers to share their settings and host them in a Git repository.
Dotbot
My previous dotfiles used a custom script to create symbolic links from inside the Git repository for all configuration files to my home directory. This time I did use dotbot, a tool to bootstrap my configuration files.
Terminal
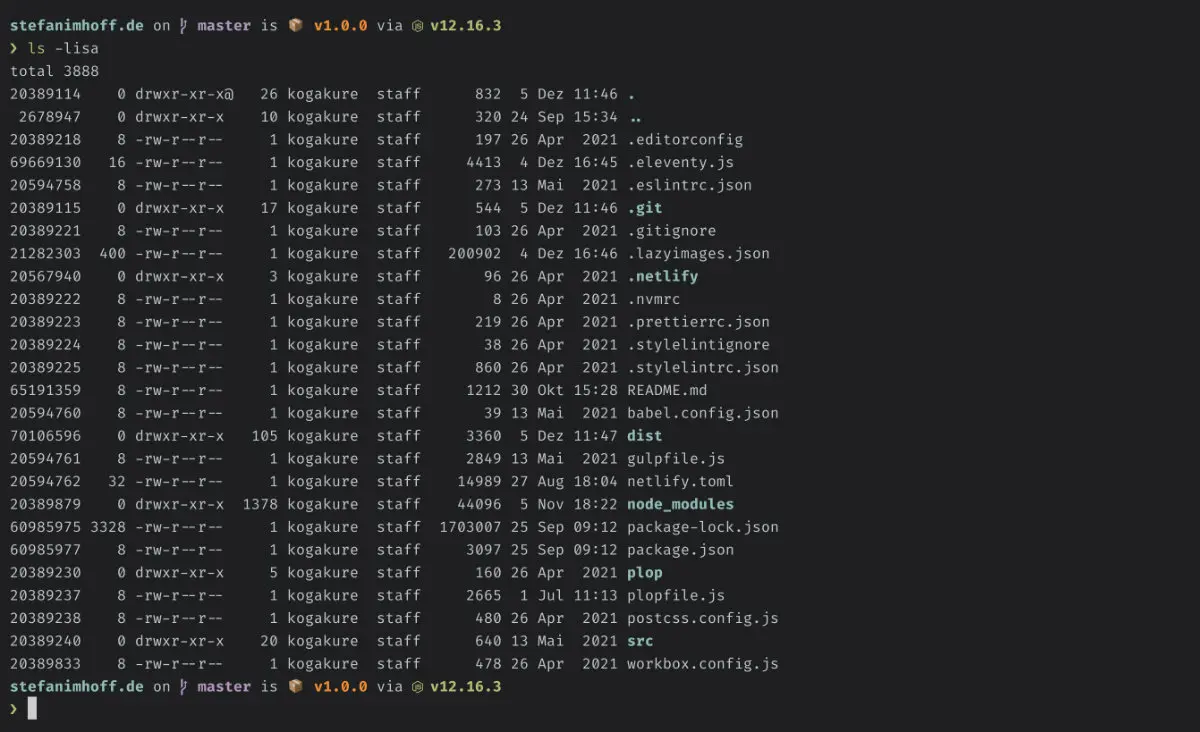
Previously, I used iTerm2 as my terminal application, but it is slow and using Vim is sluggish. I heard of Kitty and Alacritty and tried both. In the end, I decided to use Kitty as my new terminal application. It is a cross-platform, fast, feature-rich, GPU-based terminal. Additionally, it has built-in support for Ligatures.
Shell
There are three main shells: Bash, Zsh, and Fish. I started with Bash, but today my default shell is Zsh. It’s been the default shell on a Mac for a while now. I tried Fish shell, but could never get used to it.
But because it’s annoying to work to get additional features and tools for Zsh installed, I used a plugin manager.
Plugin Manager for Zsh
I previously used oh-my-zsh, but it’s a monster, with over 300 plugins and 140 themes. And there are useful tools out there that are not included in the package.
This is where Antigen comes in. It’s a lightweight plugin manager for zsh that allows using all plugins from oh-my-zsh and others.
I use more than 30 plugins for all the software I use on a regular or occasional basis. These plugins bring features, shortcuts, or helper functions that extend zsh. Three of these plugins I find useful:
If you want to see all plugins I use, have a look at my zshrc file in the repository.
Prompt
In the past, I configured my prompt myself, but this was always a lot of work. Last year I came across the cross-shell prompt Starship which is superfast (build in Rust) and customizable. But even without any configuration, it fulfills every dream of a developer.
Nerd Font
To be able to use icons and pictograms in the terminal, a patched font is necessary. Nerd Font has fonts that are patched with 845 Font Awesome icons, 197 Devicons, 228 weather icons, 172 Octicons, 2000+ Material Design icons and many more.
I use a patched version of FiraCode in my terminal. I love the ligatures of this font.
Color Theme
I remember the days of ugly terminals with 16 colors. Fortunately, these days are over. But still, it was always a hassle to find and download a nice color theme for each tool I used. Since Chris Kempson created base16, this is not an issue anymore. It is an architecture for building themes and is available for nearly every tool you can think of.
While it is possible to download color themes for each tool, I use base16-shell and base16-vim. It is possible to select and quickly switch to one of the 128 color themes available, and Neovim will automatically use the same color theme as the terminal. This is useful because occasionally, I present code in a video call, and a bright color theme is better for that, but a dark color theme is much more convenient for the eyes. I use the color theme Tomorrow Night for many years.
Terminal Multiplexer
The terminal beginner uses a new terminal window when wanting to run something while a process is in progress. The intermediate terminal user uses the built-in feature of terminals to create new tabs. The advanced terminal user uses the built-in feature to split windows into separate sections. The professional terminal user uses a terminal multiplexer. It allows you to switch between several programs in one terminal and detach them while keeping them running in the background.
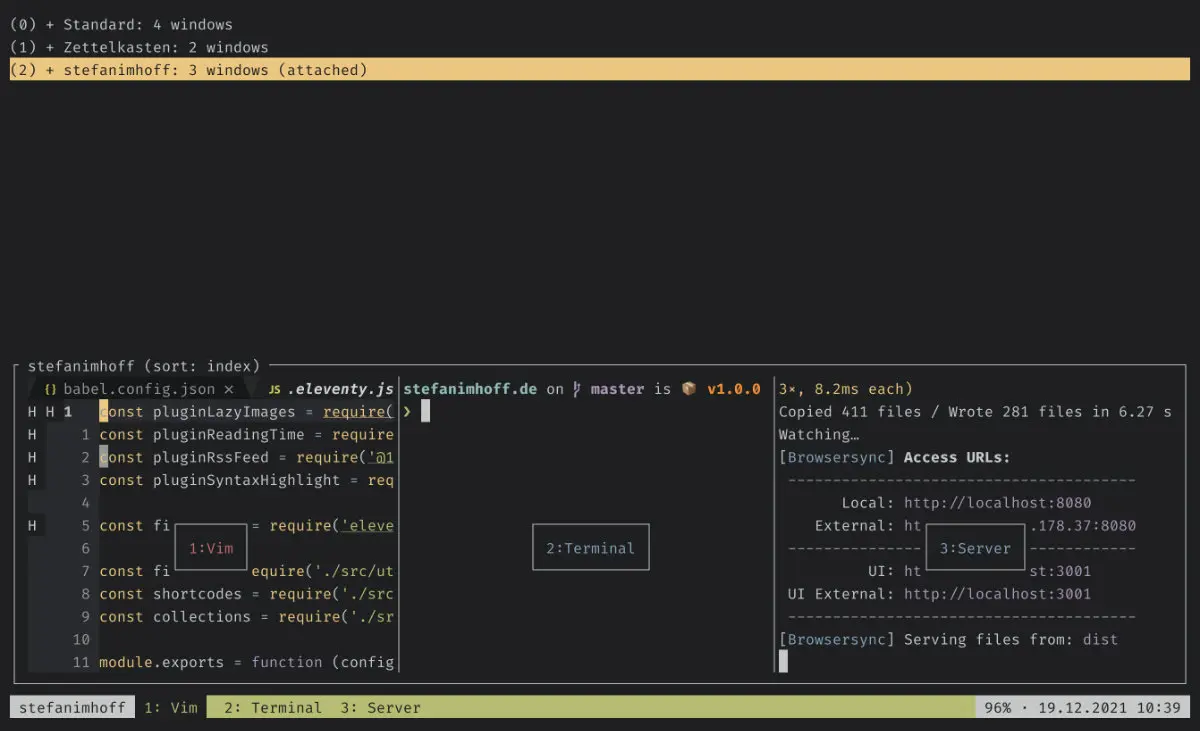
A co-worker introduced me to this concept 10 years ago. Since then, I use tmux. It allows me to run many work projects and private projects at the same time and switch with a few keystrokes between them.
I use the tmux plugin manager tpm to install additional plugins that improve tmux. You might want to see your battery status, CPU load, the weather, your Pomodoro session, or your current song playing.
Tmuxinator
One thing tmux can’t do out-of-the-box is saving and restoring sessions after a reboot. While it’s technically possible to save sessions to disk and reload them later, it’s much easier to use a tool like tmuxinator to manage tmux sessions.
Tmuxinator allows it to create sessions via YAML configuration files. Windows, splits, layouts, software to start, and much more can be saved and opened as wished at any time.
Moving Around the Terminal and Previewing Content
The first thing you learn when starting learning terminals is moving around. You move with cd (change directory) and move with cd .. to the parent folder. But this way of moving around is slow, even with auto-complete and suggestions.
This is where useful tools like z and fzf help out.
Z
Z is a simple program that keeps a list of your most-used locations and suggests based on frequency and recency the most likely match (even with a partial match).
FZF
FZF is my favorite tool on the terminal. It is a general-purpose command-line fuzzy finder that is blazing fast and can be combined with every tool thinkable.
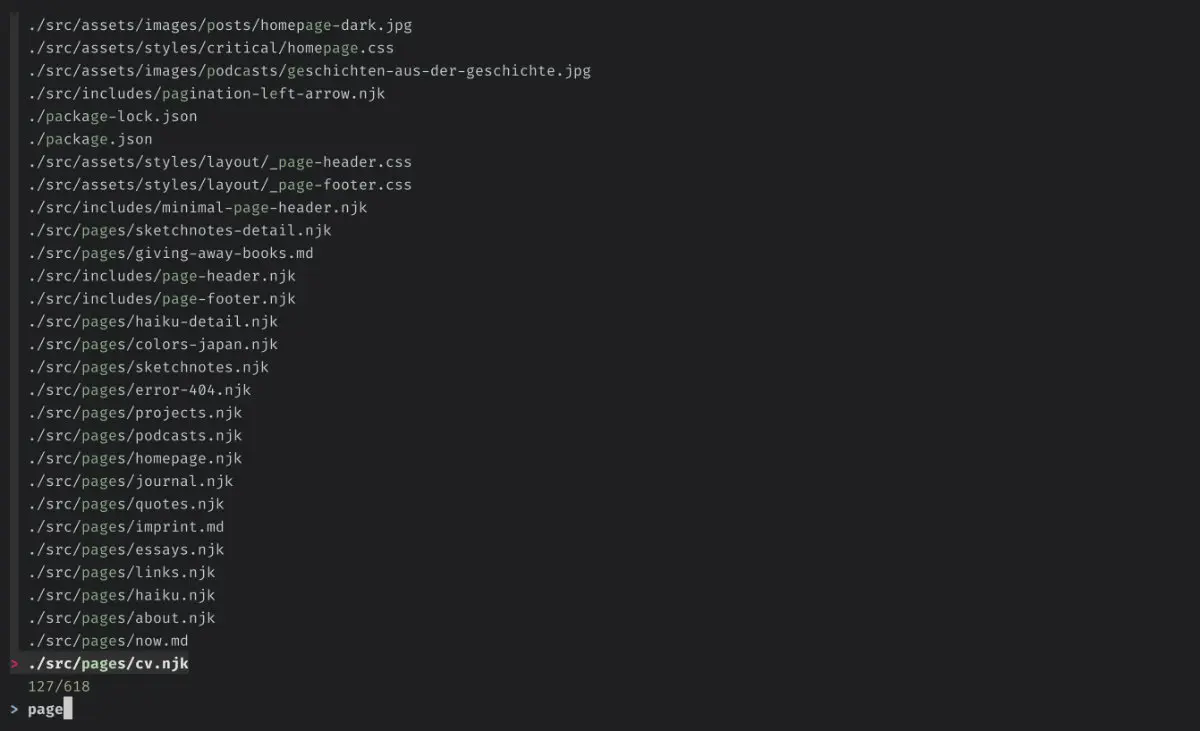
You can take nearly any output and pass it to FZF to get a list that can be filtered down with a fuzzy search in seconds. It can handle tenths of thousands or even hundreds of thousands of items with a fantastic performance.
Bat
Terminals have tools like cat, head, or tail to quickly view content without opening them in a more powerful editor. Cat is the most used tool of this kind, but it doesn’t have plenty of features except showing the content.
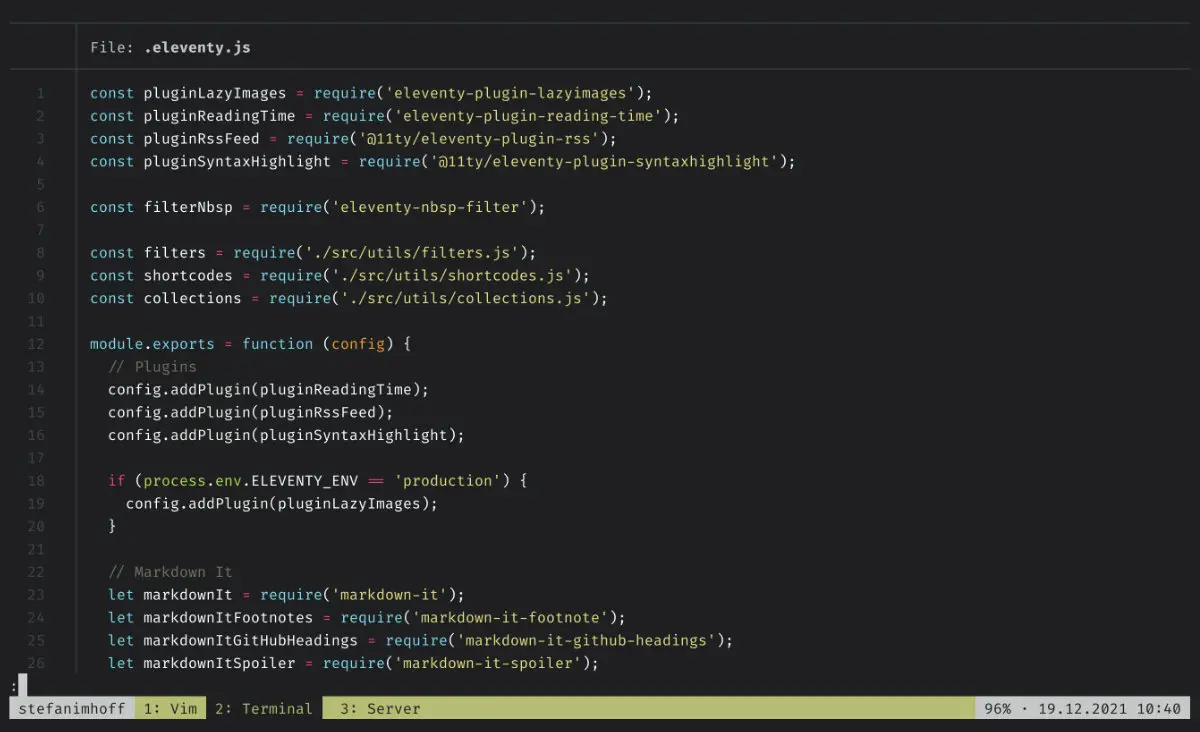
Bat is a content viewer like cat, but with powerful features like syntax highlighting, line numbers, git integration, and paging. I replaced it nearly everywhere where I used cat before. It can be combined with FZF to view the code.
Searching on the Terminal
There are many search tools built-in to the operating system, for example, find or grep. Over the years, many tools were created to provide more speed or better usability. Ack was the first tool of this kind I came across years ago. It advertised itself as “beyond grep”. The next tool I used was The Silver Searcher (ag) which was similar to ack, but faster.
My current tool to search in files is ripgrep (rg). It’s built in the Rust programming language and is the fastest.
If I want to search for a filename, I use fd which is more intuitive to use than find.
Getting Help
Nobody can remember all the commands of a terminal, let alone all the optional parameters that come with each command. The oldest way of reading the documentation on a tool is man. You can search for the documentation like this: man zip.
But these documentations are long and detailed, and under time pressure we want the gist. “Give me the command I need!”
This is where tldr (too long, didn’t read) comes to help. Instead of reading through pages of manuals, it shows you the most used commands and how to use them, e.g., tldr zip.
Another helpful tool is navi. It provides interactive cheat sheets for hundreds of commands.
Package Manager
macOS doesn’t come with a built-in package manager like Linux distributions. That is the reason Homebrew was created. It’s convenient to install terminal tools and programs on the command line. I keep a list of all the tools I install on a computer in a brew.sh file in my setup folder. The documentation next to each line is for me to remind myself what the tool does.
Homebrew Cask
Plenty of people don’t know, but Homebrew is capable to install macOS applications. By providing the --cask option, it’s possible to install the applications you need. The command brew install --cask brave-browser will install the Brave Browser. You can find a list of all the software I install this way in the cask.sh file in my setup folder.
Version Control with Git
Git is the only version control system a developer needs to learn. With hosting platforms like GitHub or GitLab, it is possible to host git projects (for free) to have a backup of your version control history.
GitHub even has an Archive Program that stores all public repositories regularly on silver halide film that can last over 1000 years. They then ship it off to Svalbard, Spitsbergen, where they store it in a 400-meter-deep decommissioned coal mine in the permafrost. If your repositories are stored in the archive can be seen by unlocking the Arctic Code Vault Contributor badge, as you can see on my GitHub profile.
I install a row of additional Git tools that help with a better experience:
- git-extras – Several helpful Git utilities
- git-quick-stats – A tool to provide quick statistics of a Git repository
- hub – A command-line tool that makes it easier to use GitHub. I use the command
hub pr checkhout 1234all the time to check out my co-worker’s code for review and testing. - lazygit – A simple terminal UI for Git.
Programming Language Environments
Each developer needs different environments for Software development. As a Frontend Web Developer, I require Node.js. But I keep a Ruby and a Python environment running because those languages are common, and I used both before for work or private projects. And I plan to have a more in-depth look into Lua soon.
I use a version manager for every tool because it’s otherwise hard to work with different versions of the same programming language.
Node.js
For Node.js, I use the Node Version Manager nvm. The setup script nvm.sh does the installation for me.
If possible, it’s considered best practice to keep the binaries of a JavaScript project with the project. But a few Node.js tools I install globally. The npm.sh script lists all my installations.
Ruby
For Ruby, I use the Ruby Version Manager rbenv. This ruby.sh script installs the environment for me.
The list of globally installed Gems in gem.sh is not large because I don’t use Ruby anymore at work.
Python
I don’t code in Python currently, but plenty of plugins in the Vim community need a functioning Python environment. This will likely change as the community is switching to Lua as the programming language of choice in Neovim. More and more plugins are written now in Lua.
I use pyenv for version management with Python and virtualenv to create isolated virtual environments for Python. The file python.sh will install everything I require for Python.
Window Manager
There are dozens of window managers available, paid or free. Even the built-in macOS split feature might be enough for regular people. But a powerful window manager is crucial for effective working. As a developer, we use two or even more monitors to constantly monitor services, browse the documentation, write code, check email or chat, and browse the internet. The context switches throughout the day, sometimes the Browser is a primary tool (when surfing), and other times it’s a secondary tool (when coding). Moving windows around monitors, resizing and arranging them is therefore important.
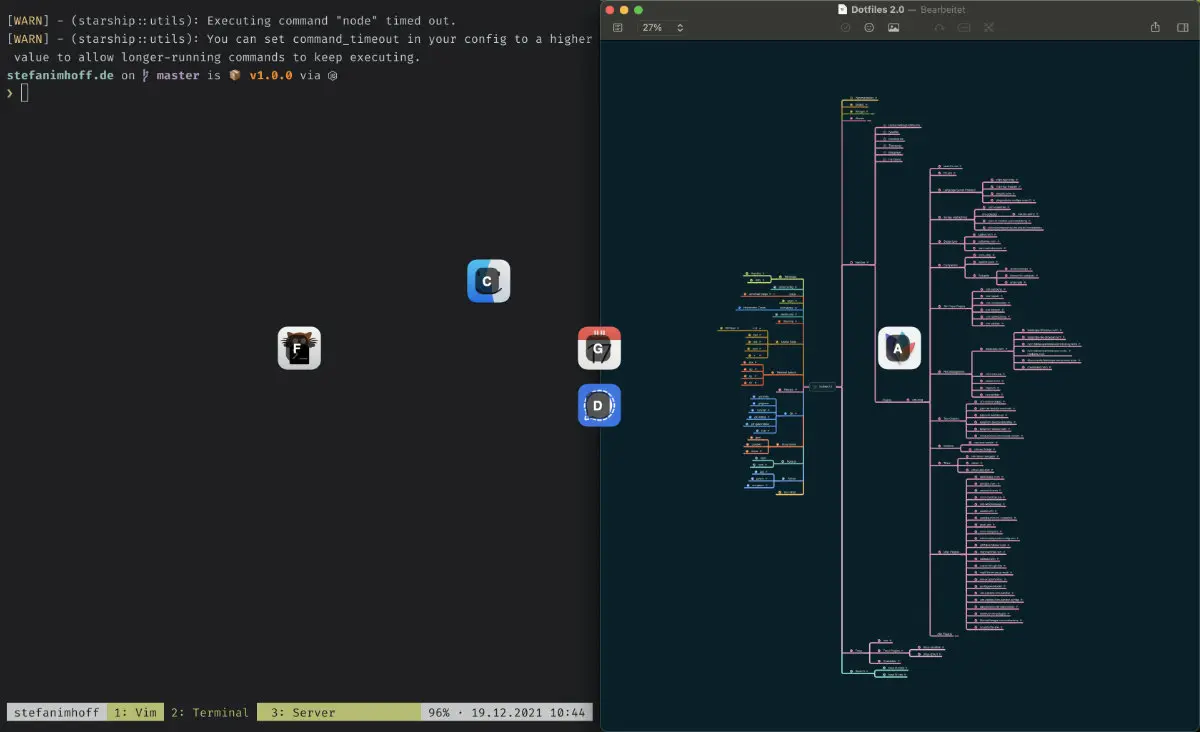
I use Hammerspoon for nearly 10 years. It is a bridge between macOS and a Lua scripting engine. It’s possible to control nearly everything with it and listen to Wi-Fi or USB events. I use it mainly for window resizing, window layout management, and application switching. If you’re interested in my configuration, you can find it in init.lua and additional helper functions in functions.lua. Those are copied because I had no clue about Lua 10 years ago.
Footnotes
-
Heather Heying and Bret Weinstein (2021): A Hunter-Gatherer’s Guide to the 21st Century: Evolution and the Challenges of Modern Life, Swift Press. ↩
-
TIPP10 – Learn touch typing for free, https://www.tipp10.com/ ↩