Setting Up a Web Developer Work Environment
Neovim

As I mentioned in my introduction, I use Vim for a long time. My shortcuts and commands have carved their way into my memory, and I don’t even need to think about 80% of my shortcuts. Occasionally, I can’t even recall them without doing them.
The Stack Overflow Developer Survey 2021 lists Neovim as the most loved editor [and] the 10th most wanted editor.
1 And this has a reason. Vim is fantastic on its own, but Neovim adds features we know from code editors like Visual Studio Code. And it is fast, super fast. What editor (besides Emacs) can load a 50 GB large log file without crashing?
Learning Vim looks hard, people even joke the hardest part is to exit Vim. But don’t forget, nobody knows all features of Vim. But the constant learning of new cool things keeps you motivated for years, and you’ll fall in love with the editor. If you only know regular editors, you have no idea what you’re missing. Fast, precise movement and editing without ever lifting the fingers of the keyboard.
Learning Vim
I won’t go into a long list of tutorials and screencasts, but it’s easy to find these resources with one search. There are uncounted articles, books, screencasts, or games available to learn Vim.
These tutorials and videos are a good start:
- Learn Vim For the Last Time: A Tutorial and Primer
- 5 Minutes Vim
- Exploring Vim
- Mastering the Vim Language
- Learning Vim in a Week
- How to Do 90% of What Plugins Do (With Just Vim)
The number of plugins can be overwhelming, there are always three alternatives (because developers like options).
Good Defaults
The good thing is that Neovim and its plugins come with reasonable defaults. You don’t need to configure a lot to get started. If you develop wishes later, you can always use a custom configuration.
These are things I learned accidentally. When I reviewed my old .vimrc I decided to check each setting in the documentation. Searching for :h mouse will show you the configuration options for mouse usage. If the setting has a default, I removed it from my configuration file (mouse is not). This reduced my settings to around 75 lines.
I decided to move full-in Neovim and be backward-incompatible with Vim and started using init.vim instead of .vimrc. Once the Vim APIs in Lua are completed and stable, I might migrate to Lua.
Mappings
Mappings are one of the reasons people love Vim. Instead of having a developer decide what keyboard shortcut you have to use (or giving you the option to remap everything), Vim allows you to create shortcuts for everything. You can use typical keys as ⇧, ⌃, ⌥, or ⌘ as in any other software. But you’ll soon run out of options.
Vim introduced the concept of a Leader key. A key you can press (default \) and thereafter, it will wait for a combination of more keys to execute a command. This can be one letter or even a full word. I use for example this mapping to turn spell checking on or off:
nnoremap <silent> <leader>rs :set spell!
My leader key is remapped to the space bar. If I press space followed by rs it will execute the command. The ! switches the previous value to its opposite.
I use mnemonic aids for my key combinations. This might be pf (pretty format) or cf (current file) for example.
If you want to see all my regular mappings, please look at the mappings.vim file. I keep the mappings for plugins now in separate files for each plugin.
Functions
You can write functions in Vim Script or Lua and bind them to shortcuts. I cleaned up and removed all functions I never used, and now my functions.vim file is short.
Auto Commands
Auto commands are commands that get executed automatically if a specific condition matches. This can be entering a file or mode, loading a specific file type, saving a file, or much more.
Previously, I had more than 150 lines of auto commands, but I decided to remove a lot of them. A lot of my auto commands were setting the right syntax highlighting for specific file types. I guess with Treesitter this should not be necessary anymore. My autocmd.vim file has a few settings for my used languages.
Plugins
Neovim has many features inherited from Vim and Vi, but the developers can’t add all features. This is where plugins help out. The amount of Vim plugins is uncountable. The tag vim-plugin or vim-plugins matches nearly 1800 repositories on GitHub (but a lot of the best, plugins aren’t even tagged). No matter what your wish is, somebody has written a plugin.
Plugin Managers
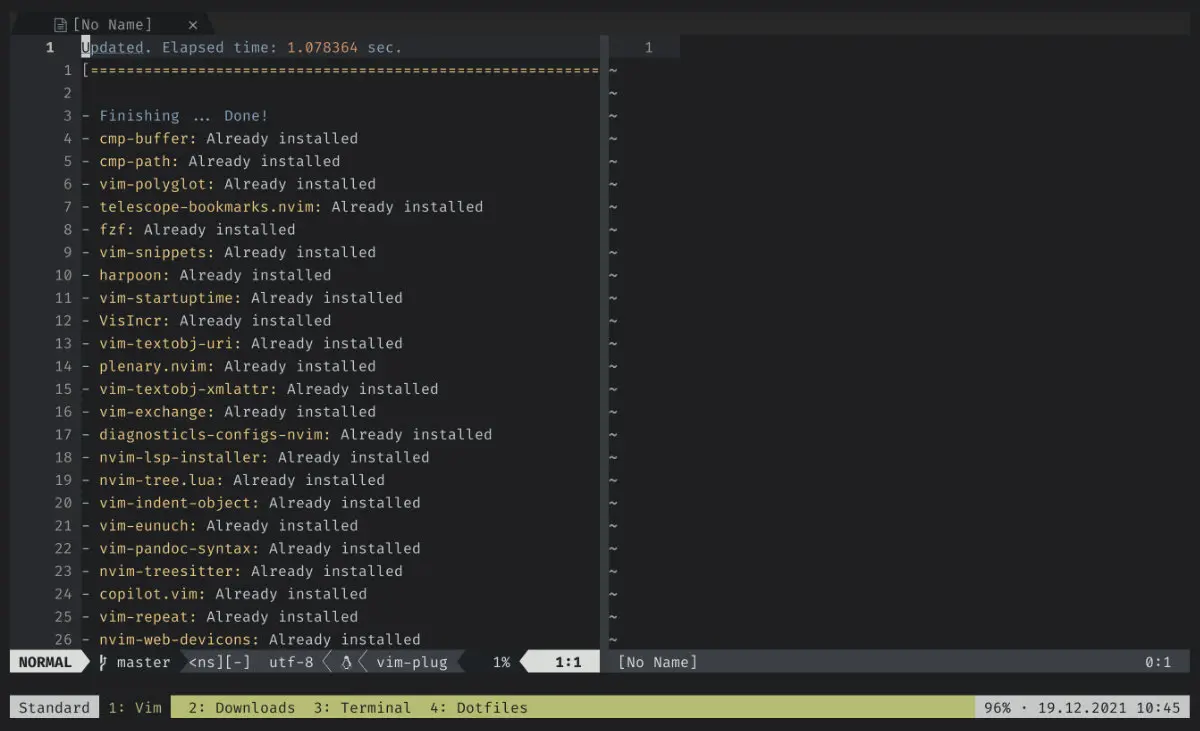
Even for installing plugins, you have multiple options: You can download and copy the file manually (nobody does this) or install one of the many plugin managers. I use vim-plug. All you need to do is add a line pointing to the plugin to your configuration, reload Vim, and run :PlugInstall.
Plugin Configuration
I decided on my new repository to keep all configuration, settings, mappings, functions, and auto commands for a plugin in a dedicated file and load this file from one central file. In this way, no unnecessary lines stay around should I replace a plugin with a better plugin in the future.
Additionally, I can write the configurations in Vimscript or Lua, depending on the plugin, and don’t need to use the ugly syntax to embed Lua in Vimscript:
lua << EOF
-- Some Lua code
EOF
The amount of my plugins is currently 78. I will use the rough categories of my plugins.vim file to group the plugins in this article. I will not mention all plugins. If you’re interested in what current plugins I use, please refer to the file above.
Language Server Protocol
The built-in LSP client of Neovim is a fantastic feature. But it’s the most complicated part to set up at the moment. Of all the plugins, I struggled the most in setting up LSP. The main plugins to help are lspconfig and nvim-lsp-installer will help to create configurations for the LSP servers and to install them without additional manual work.
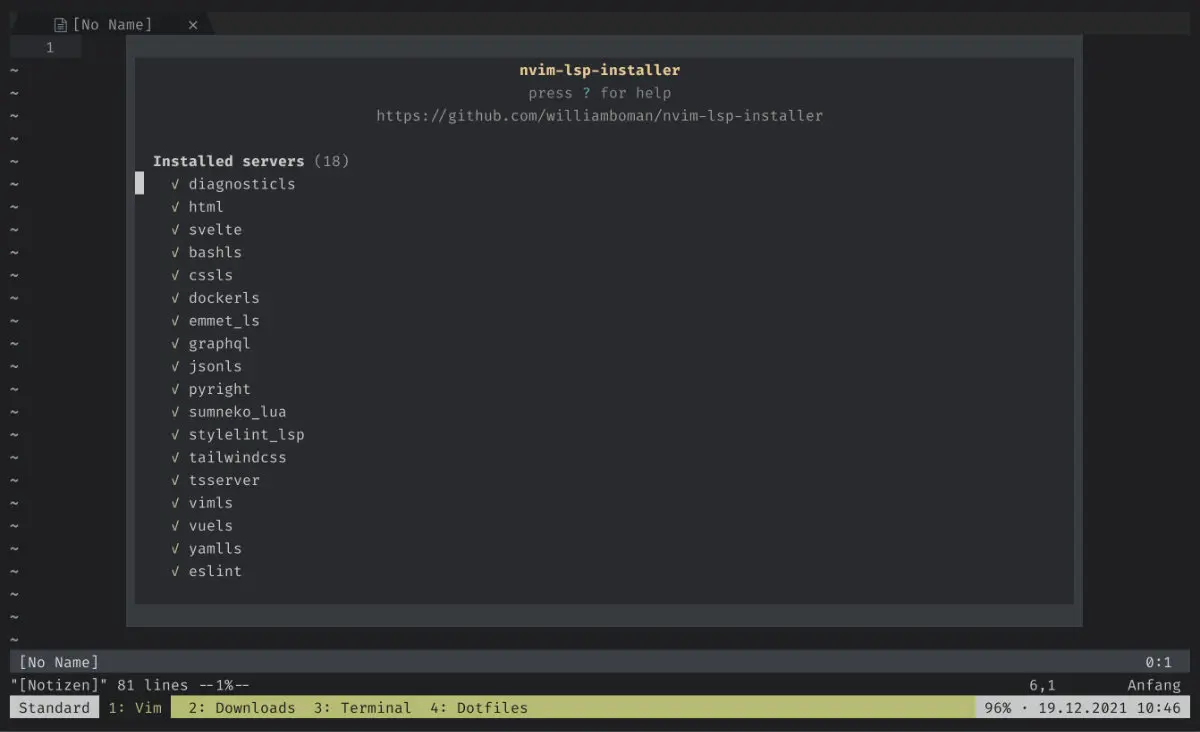
One of the LSP servers is the diagnostics language server. There is an unofficial collection of configurations for useful things such as prettier or ESLint.
Trouble is a cool plugin to show errors, warnings, or hints for your code.
Completion
Vim has a nice completion engine with omnicomplete, but with nvim-cmp it feels much more modern. The recommended setup includes more plugins by the same author to complete LSP, buffers, path, vim’s command line, and snippets of one of the four biggest snippet plugins.
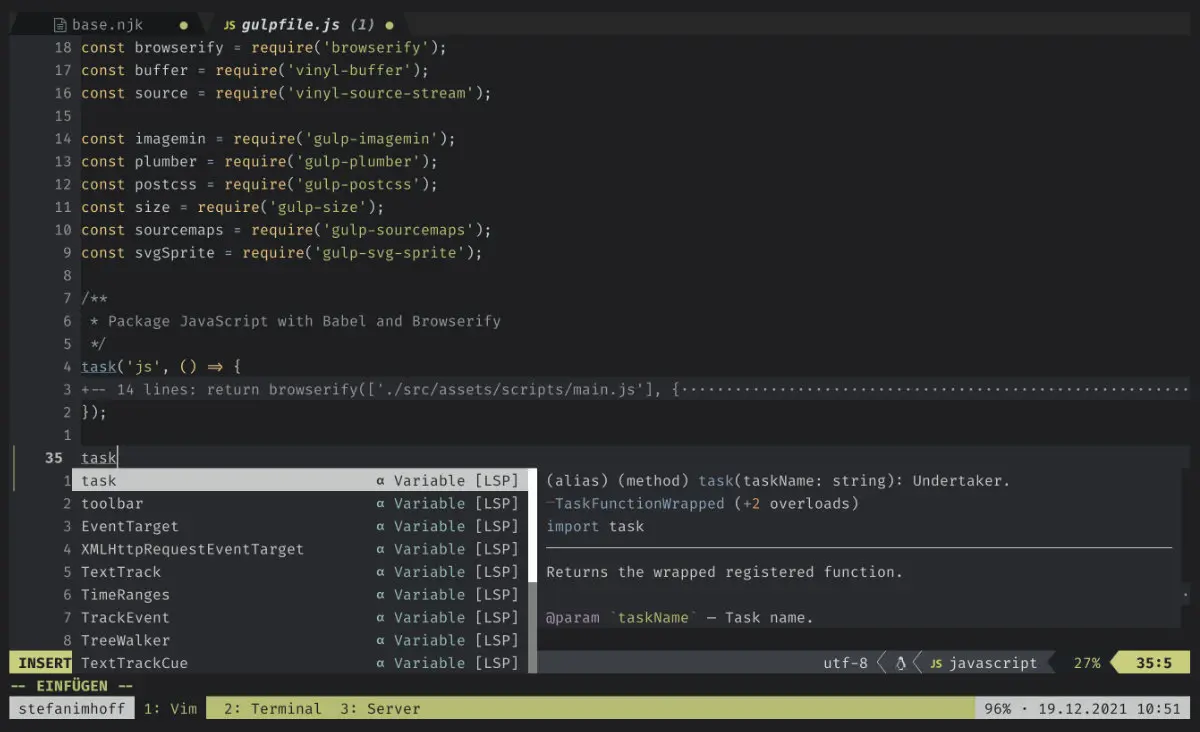
I decided to stay with Ultisnips because it’s the most starred, creating snippets is quick and easy and with vim-snippets it brings a massive collection of snippets. There is a source for nvim-cmp.
The plugin lspkind-nvim will add pretty pictograms for LSP completions, known from Visual Studio Code.
File Management & File Editing
Telescope is my favorite plugin. It is a plugin to find, filter, preview, and pick files. It supports built-in dozens of features, for example, files, Vim features, LSP, Git, and many more. But it can be extended to browse the file system, fzf, recently used files, node_modules, or browser bookmarks.
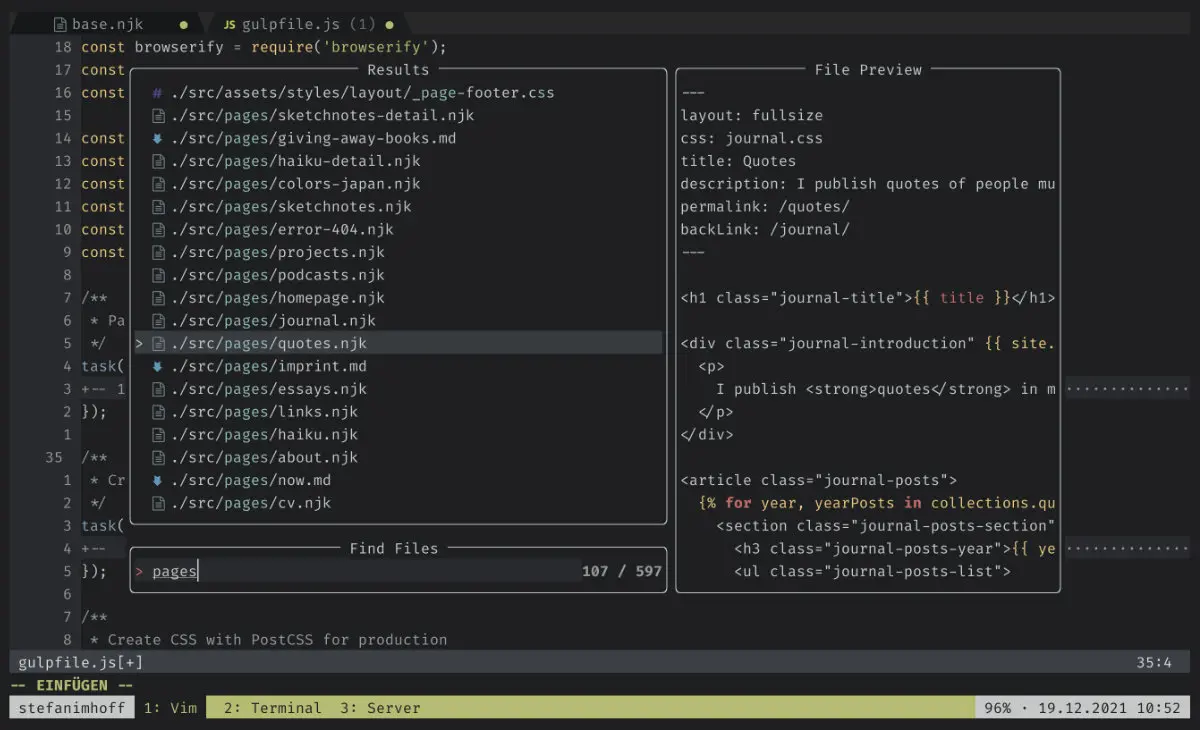
I don’t use Tree plugins much because Telescope is fast and finds everything, but every so often you want to browse a specific folder structure. NerdTree is the most famous tree plugin, but I use a newer version written in Lua: nvim-tree.lua.
In Visual Studio Code, I liked the GitLens plugin that showed on each line the author of the last commit. The plugin blamer.nvim will add similar functionality.
Multiple cursors are a fantastic feature that is not a default option in Neovim. But the vim-visual-multi plugin can add this feature.
The plugin nvim-autopairs will add support for automatic pairing characters, including options to configure the behavior of the cursor position.
Vim has a mark feature built-in, but I use an additional bookmark plugin for a long time now: vim-bookmarks. It shows the marks with pretty pictograms, additionally, a comment can be added to the mark, and they can be saved automatically on the hard drive and restored later.
One of the most interesting Twitch streamers in the Neovim community created the Harpoon plugin. It is a tool to quickly jump between a handful of files you’re currently working on. When I saw it first, I thought why should I need this, but now I don’t want to miss it.
File-line is a small plugin I use for many years. It allows you to directly open a file and jump to a specific line by adding the line number to the filename, e.g., vim index.html:20.
I love Tabular and use it for many years. It allows aligning content on specific characters. I found a function that even realigns automatically when a | is typed, which is helpful for Markdown tables.
Another old plugin I use all the time is VisIncr. It allows us to visually increase numbers of all kinds on multiple lines at once.
Gitsigns is a plugin that integrates Git decorations to Neovim. Additions, deletions, and changes are highlighted with a color bar at the side. It is possible to stage code from inside Neovim.
Finding and replacing multiple files is not that intuitive in Vim. Luckily, I found Far, a pretty plugin that simplifies the interface.
I work with GitHub Enterprise at work and need to share code positions with other developers all the time. The plugin vim-gh-line is made for this. In Vim, I position my cursor on a code line and press a shortcut to open the same position in GitHub.
It should be possible to use LSP to run Prettier on Neovim, but I couldn’t yet figure out how. That’s why I installed neoformat for now to do the job for me.
Window Improvements
A lot of new Vim users get confused: Vim supports buffers, windows, and tabs. A buffer is the instance of a file, a window is a view on a buffer, and a tab is a collection. Because buffers are not visible by default, beginners don’t know how to see all open files. Bufferline will add a feature to show all open buffers as if they would be tabs.
Another thing on the opposite end of the window that many people want is a status line that shows all kinds of information: Vim mode, Git branch name, errors, file type, language, time, column, or many more. Lualine adds a pretty bar that brings these features and can be configured to meet your needs.
Cursorline is a plugin that will highlight the current word and all occurrences automatically without searching for the word.
Neoscroll is a plugin that adds smooth scrolling to Neovim.
I like to work distraction-free. In Visual Studio Code there is the Zen mode which will hide all unnecessary things. For Vim, the plugin Goyo does a similar thing. It centers the editor and removes all distractions.
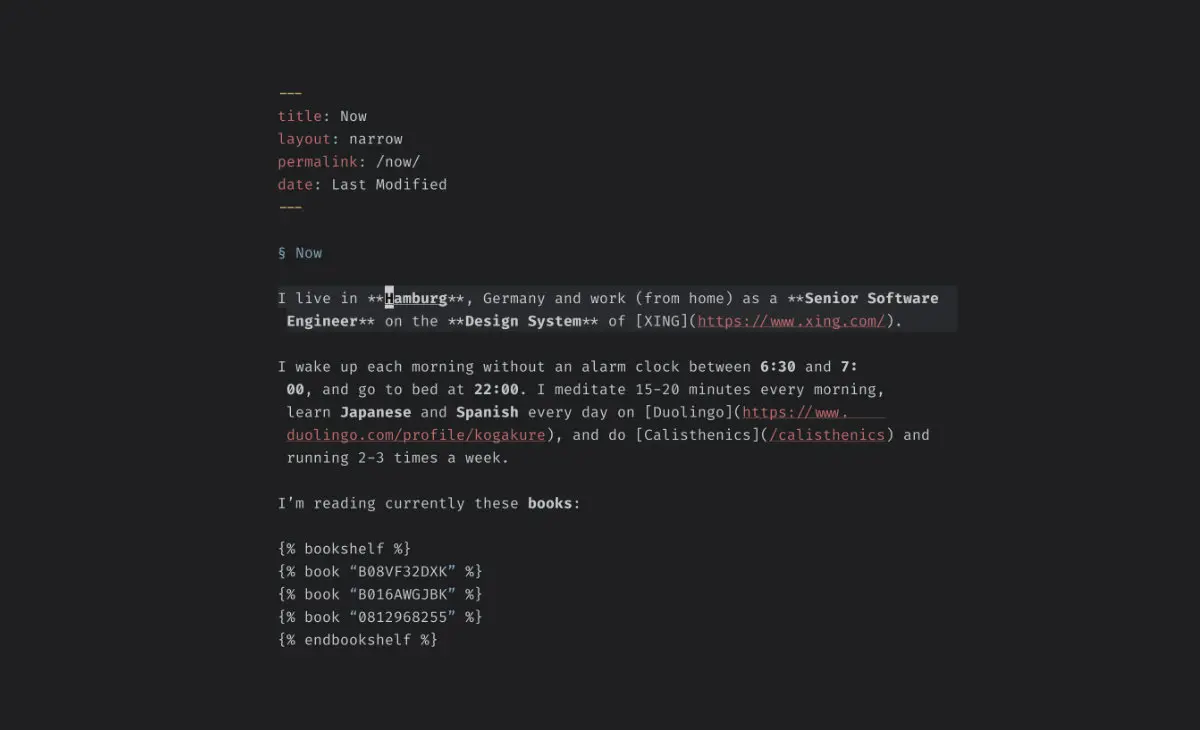
Syntax Highlighting
Treesitter is the newly built-in parsing library of Neovim. Syntax highlighting was always a hassle because syntax plugins were built with Regular Expressions. Treesitter understands the code semantically and will be able to support many cool new features in the future. The list of supported languages is impressive. The Treesitter plugin allows easy installation of languages.
But in case a language is not yet supported, I use Vim Polyglot. The plugin supports 598 languages and loads the needed ones for a file.
The only problem I have is support for Styled Components. It’s an open issue on Treesitter and the official plugin is unmaintained and doesn’t support new syntax as transitional properties, which creates linting issues for me. I hope this issue can be resolved soon.
As a Front-end Web Developer, I love to see my color values visualized. The plugin colorizer.lua does this fast and pretty.
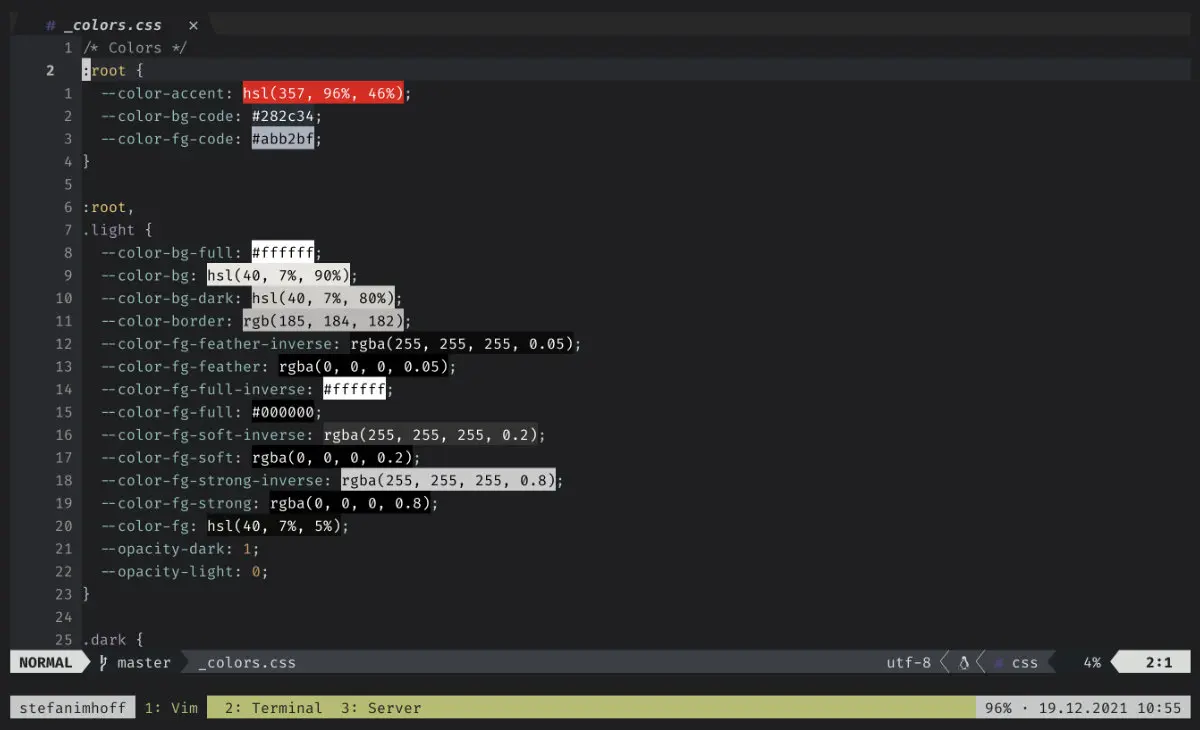
Another plugin I use is Emmet. It allows using this simple syntax to automatically create HTML or CSS.
For Markdown, I use the Pandoc and Pandoc Syntax plugins. They make writing Markdown enjoyable.
Custom Text Objects
The most powerful feature of Vim was part of Vi. Vim has its own “language” to move around and edit text objects. It is for example possible to change a complete paragraph with cip (change inner paragraph). The base language supports many text objects, but plugins can extend the language even further.
I use text object for indent, xml attributes, date and time, URIs, or comments.
Custom Motions
I love sorting things. Vim has a sort feature built-in, that can even remove duplicates (:sort u). But you need the visual mode to mark the content you want to sort. The plugin vim-sort-motion allows sorting with a few keystrokes with text objects.
The plugin exchange.vim allows switching two words without the visual mode.
Vim allows you to jump to nearly every position with a few keystrokes, but vim-easymotion increases the precision to directly jump to any letter.
Tim Pope Plugins
Tim Pope is one of the most famous plugin creators. He created nearly 50 plugins, a few of the most used by the community.
I use vim-surround which allows replacing, removing, or adding things around text objects. The plugin vim-repeat adds the functionality to repeat an action in many other plugins. His plugin vim-fugitive is a fantastic Git wrapper, and vim-commentary allows commenting out lines or blocks of code.
I use more plugins from Tim Pope, it’s worth checking out all his plugins.
TMUX
And finally, I use three plugins to make working with Vim in TMUX more enjoyable: vim-tmux-navigator and Vimux. The first plugin allows moving seamlessly between Vim and TMUX, including splits. The second plugin allows interaction with TMUX from inside Vim. There are additional plugins available to run test suites for specific languages.
Conclusion
Investing in your tools is something every developer should do. It does make you more productive, and faster, and you enjoy working with these tools more. If you’re not yet a Terminal user, start learning the basics and learn something new every day. Learning Vi/Vim/Neovim is a life-long journey, but it’s rewarding and enjoyable. Once you started using Vim, you never want to go back to another editor.
Footnotes
-
Stack Overflow Developer Survey 2021, https://insights.stackoverflow.com/survey/2021#section-most-loved-dreaded-and-wanted-collaboration-tools. ↩